Read my menu
In FoodEatUp, for my establishment [number], list the dishes on my menu with their price and category.
What you getThe list of dishes, grouped by category, with their price.
Tools used : list_dishes
 StockVision · Menu
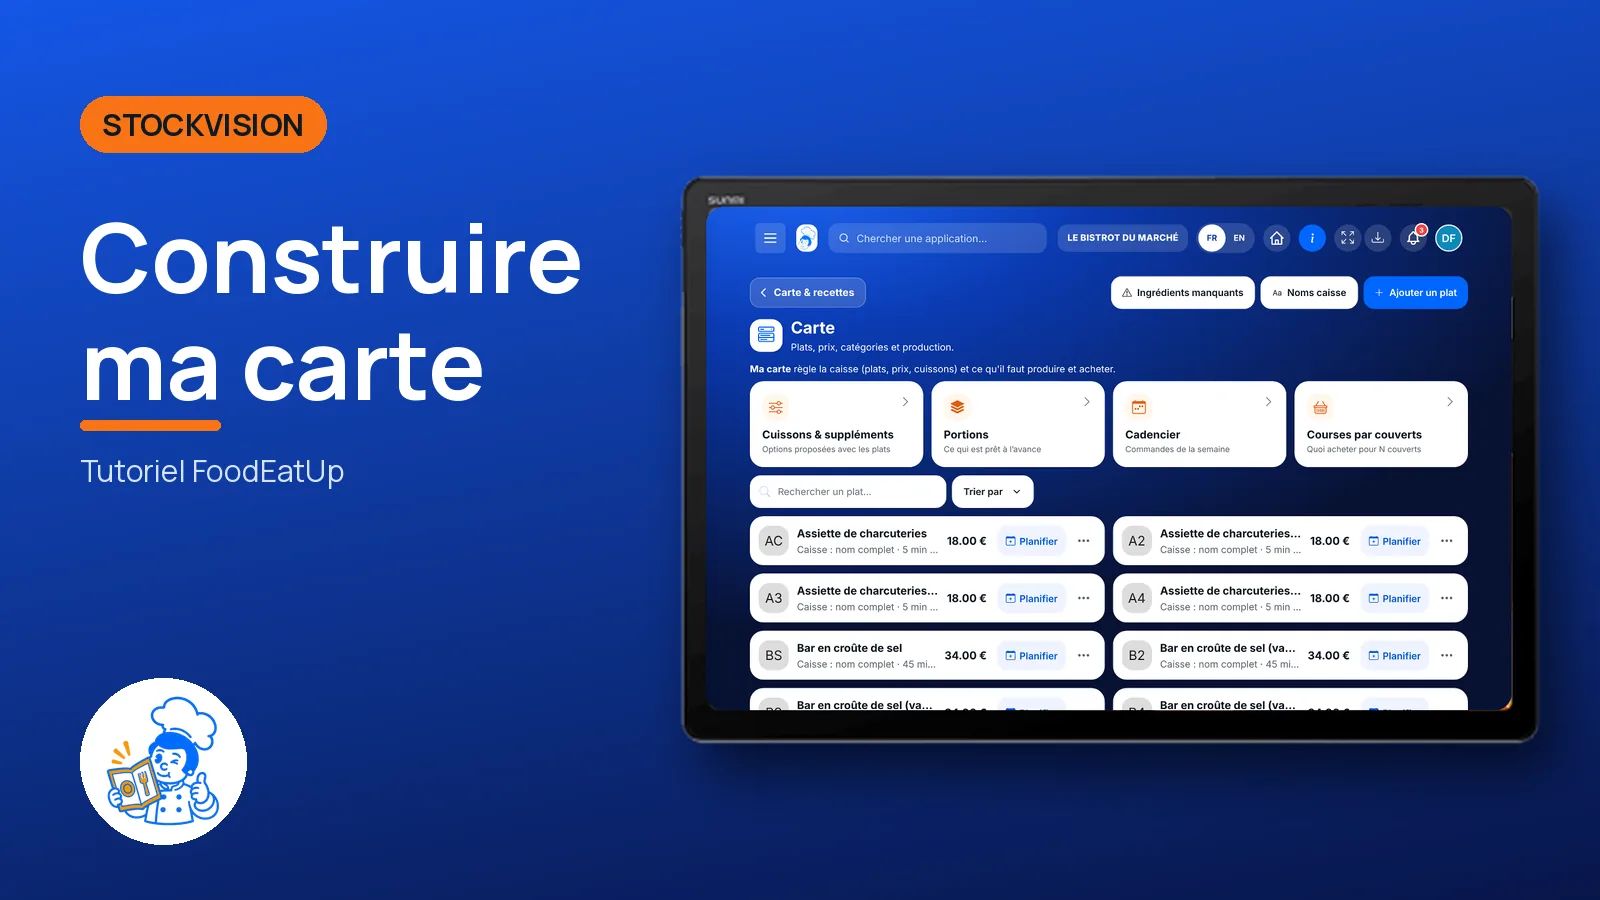
Your dishes, their prices, VAT and ingredients in one place. The menu feeds the till, the kitchen, production and the website.
 Chef de cuisine
 Patron / gérant
 Second de cuisine
The owner always has access. See what each role sees →
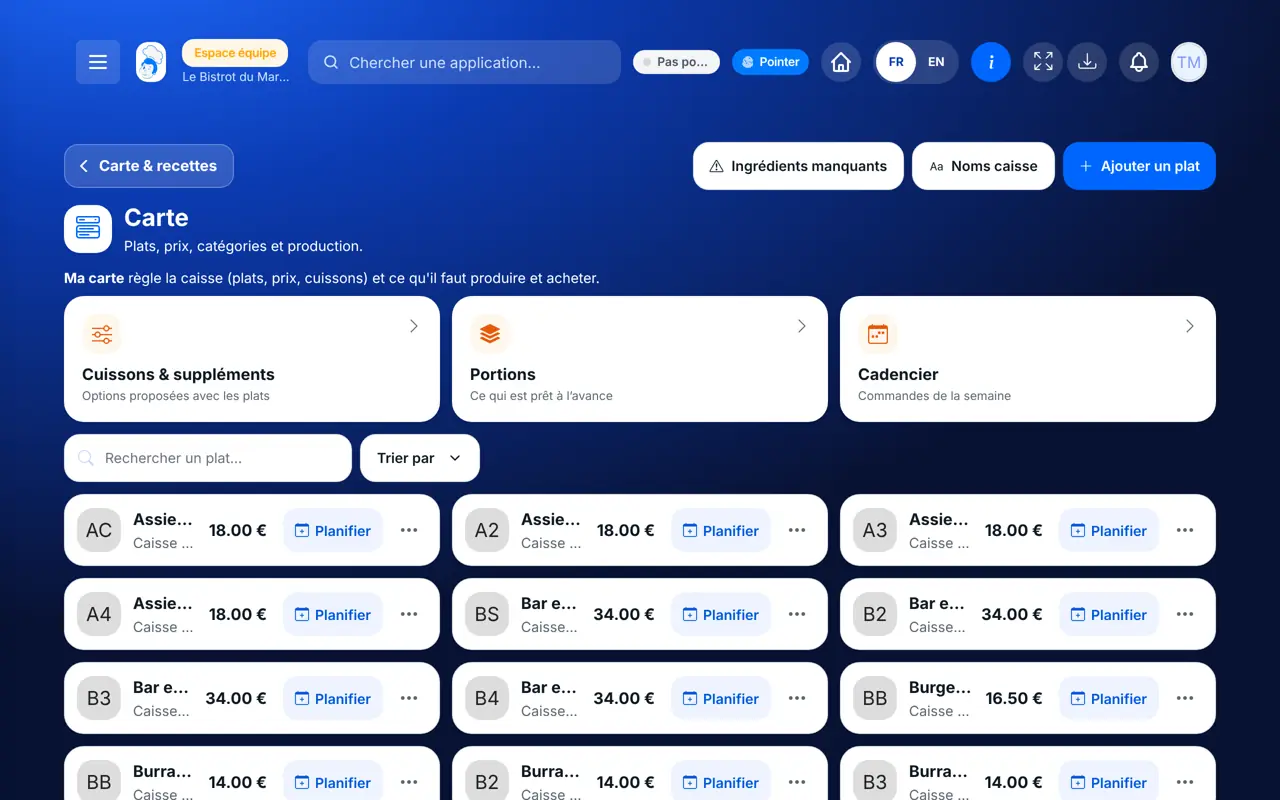
A tablet in the kitchen or the office. The screen also works on a computer to enter a whole menu.
The real software screens, as they appear on each device.
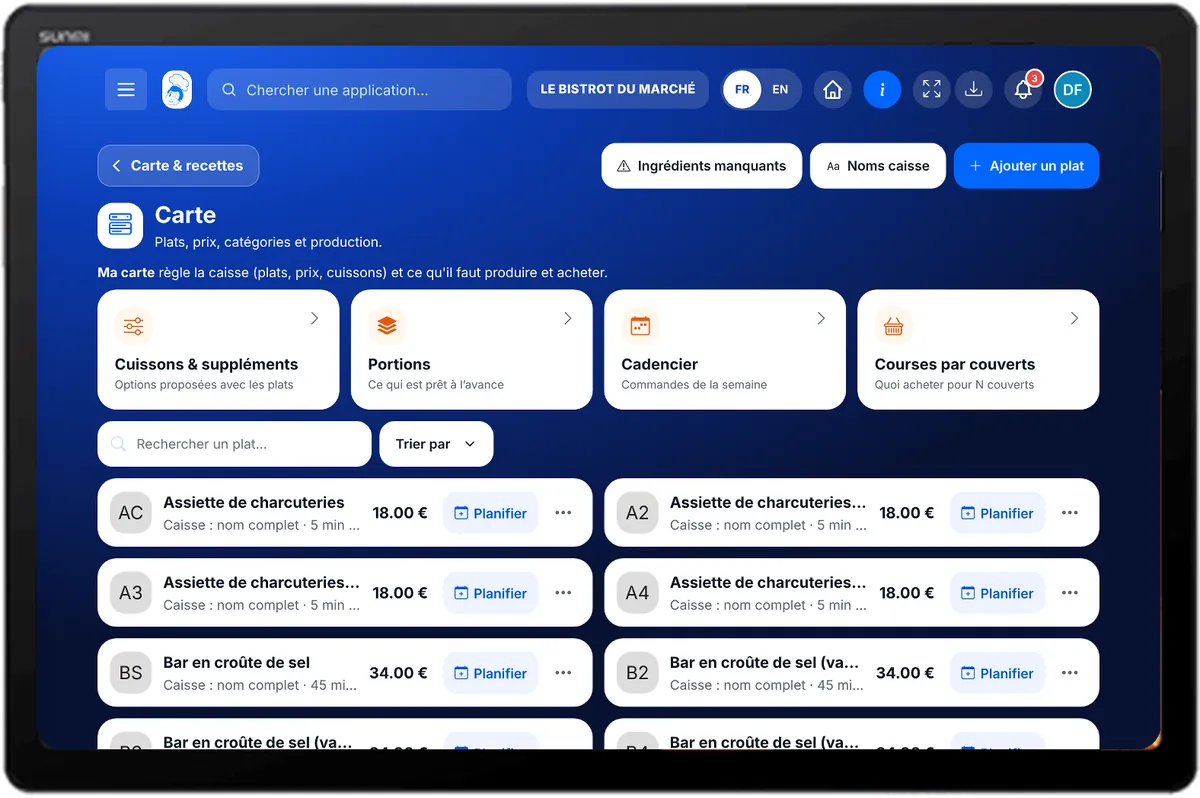
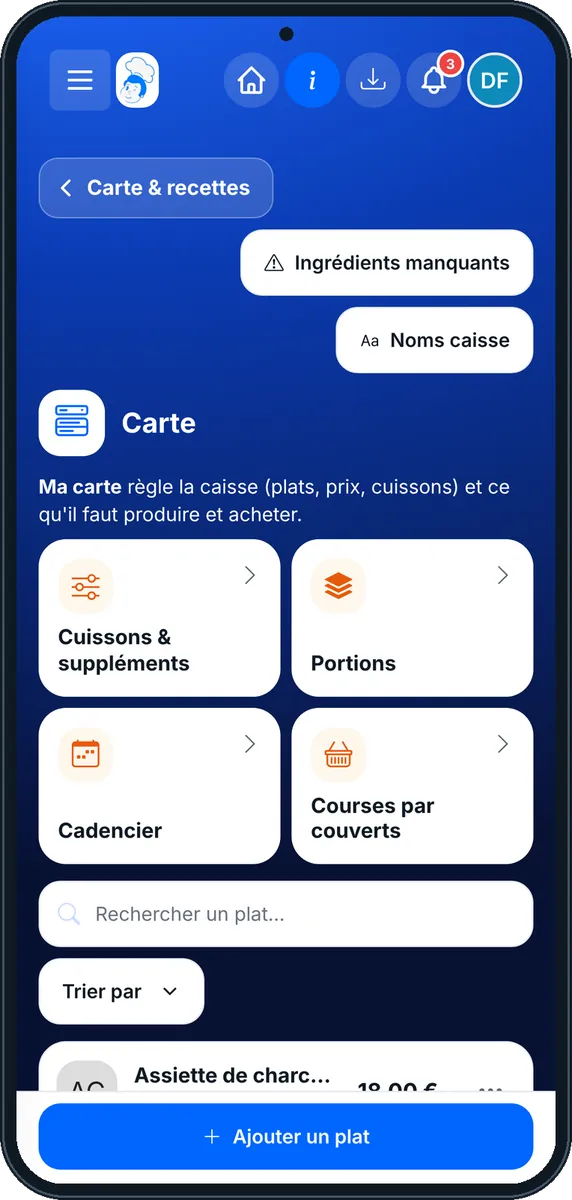
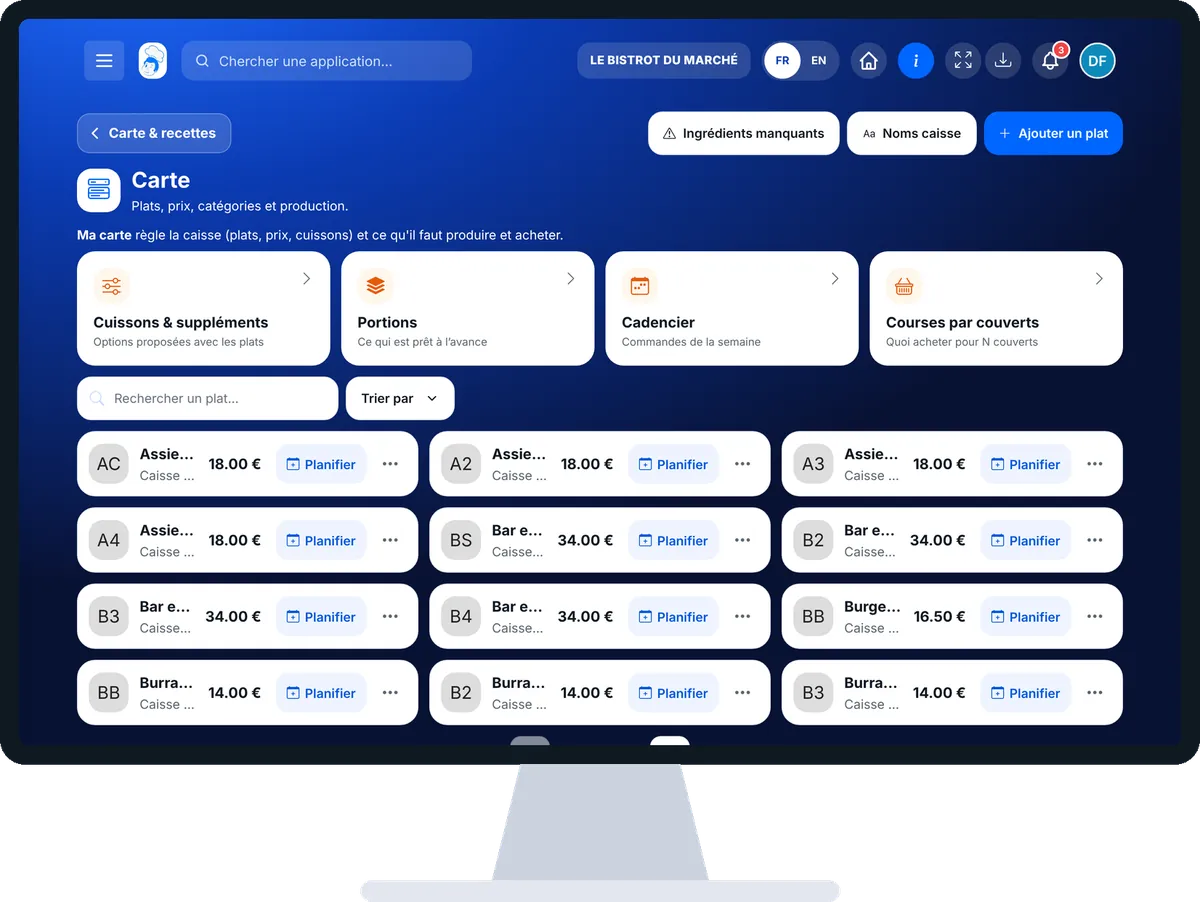
Build my menu : 5 steps, with the real software screens.
From the home screen, open StockVision then “Carte”. At the top, tabs also lead to cooking options and extras, portions, the order schedule and shopping by covers.
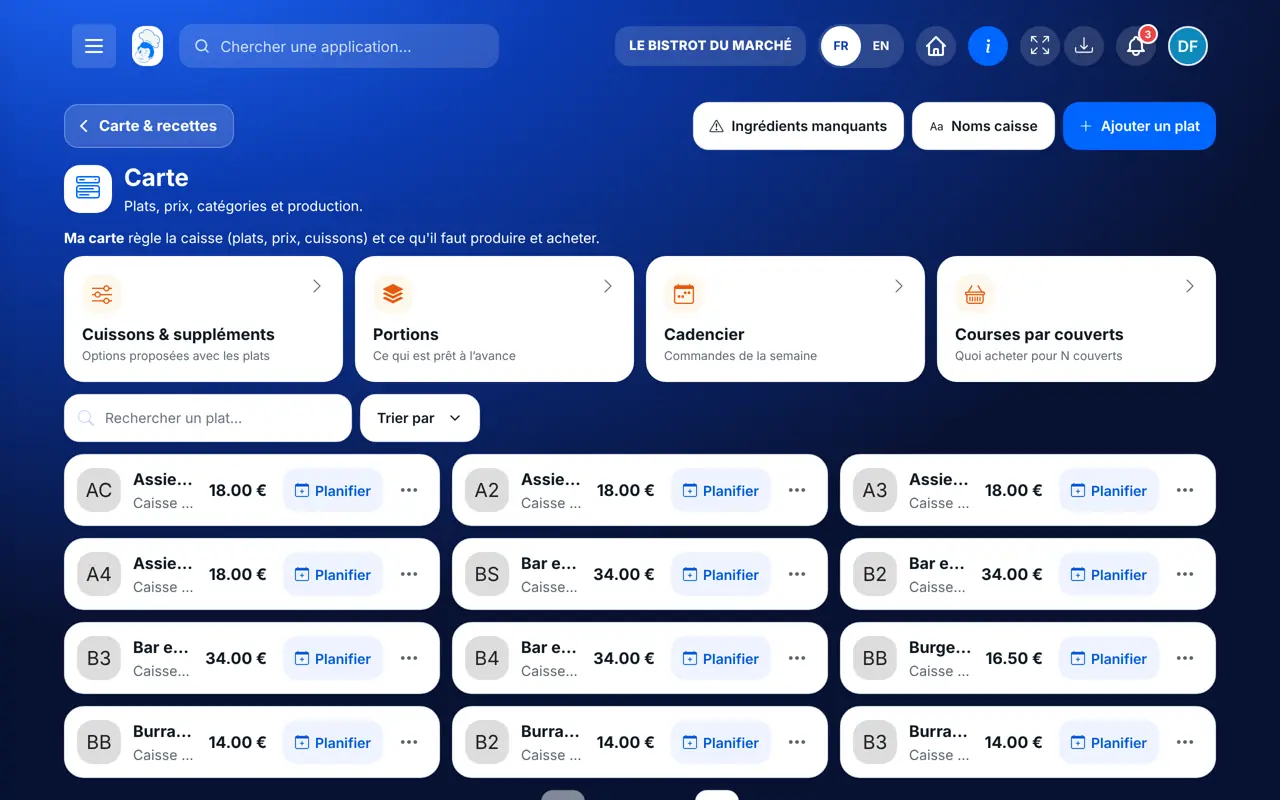
Tap “Ajouter un plat”. Give the dish a name, a till and kitchen name if you like (30 characters at most), the category, the price and the applicable VAT.
In “Recette liée (facultatif)”, pick the dish’s recipe. If you enter no ingredients, the recipe’s are used. A recipe from the Cocuisinage recipe library, once added to your recipes, links the same way.
Add a photo if you have one, then tap “Créer le plat”. It shows in your menu list.
On a dish card, tap “Planifier une production”: quantity, date and time. Missing ingredients go to the shopping list.
Each dish has its price, VAT, category and recipe. The till, the kitchen and the website read it as it is.
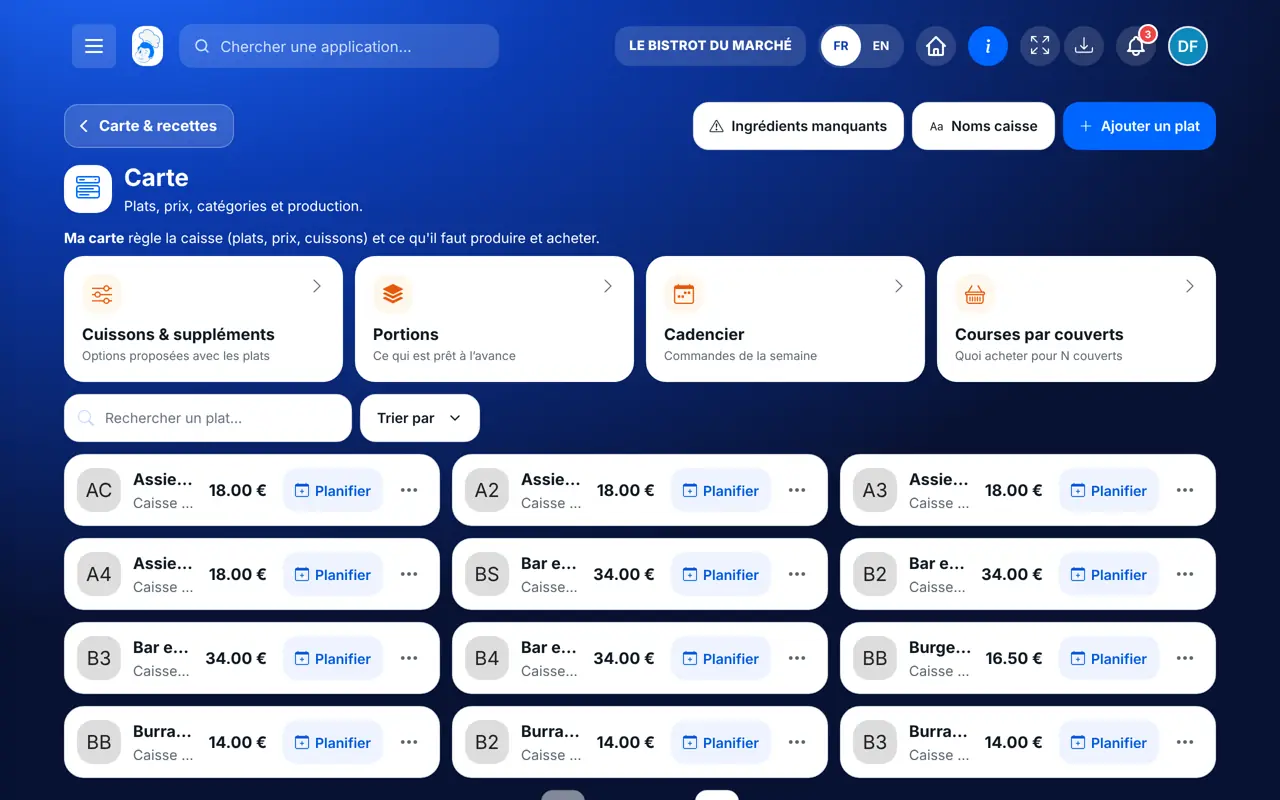
Creates, edits and deletes dishes, sets prices and VAT.
With the right to view the menu, sees dishes and their ingredients. Creating or editing a dish needs the matching rights in their role.
Claude, ChatGPT or Mistral’s Le Chat, connected to FoodEatUp. Copy the request and replace your establishment number.
In FoodEatUp, for my establishment [number], list the dishes on my menu with their price and category.
What you getThe list of dishes, grouped by category, with their price.
Tools used : list_dishes
In FoodEatUp, for my establishment [number], look in the recipe library for a [dish] recipe and add it to my recipes. Show me before confirming.
What you getThe recipe added to your records, with ingredients linked to yours or created without a price.
Tools used : list_master_recipes, importer_recette_restaurant
In FoodEatUp, for my establishment [number], create the dish [name] at €[price] in the category [category], linked to the recipe [recipe]. Show me before confirming.
What you getThe dish created, linked to its recipe.
Tools used : create_dish
Till, kitchen, production and website read the same menu.
The dish cost moves with its ingredient prices.
The Cocuisinage recipe library adds to your records.
Plan from the dish, missing items go to shopping.
Link each dish to its recipe as soon as you create it: its cost, production and allergens then come from the recipe, with nothing to enter twice.
In FoodEatUp, one action triggers others. Here are the screens that work with this one.
No, if the dish is linked to a recipe: its ingredients are used. Ingredients entered on the dish come before the recipe’s.
It is the short name the team reads at the till, in the kitchen and on tickets. The website and the guest menu keep the full name.
Open the Cocuisinage recipe library, add the recipe to your recipes, then pick it in “Recette liée” on the dish.
Send it to your team, your partner or your accountant. The image below appears in the message.
Claude, ChatGPT or Le Chat read this tutorial and explain it to you. Connected to FoodEatUp, they do it with you.
Read this FoodEatUp tutorial: https://foodeatup.com/en/academy/stockvision/carte.md Explain it to me simply, step by step, then help me do it in my restaurant. If FoodEatUp is connected to you, do it with me and show me the preview before every change.
Type your establishment number: the link takes you straight to this screen. The number stays on this device.
Discover stock and food cost (in French) →
Répond avec les fiches du site, sans IA
Le chef cherche dans les fiches…
 Claude
 Le Chat
 ChatGPT